
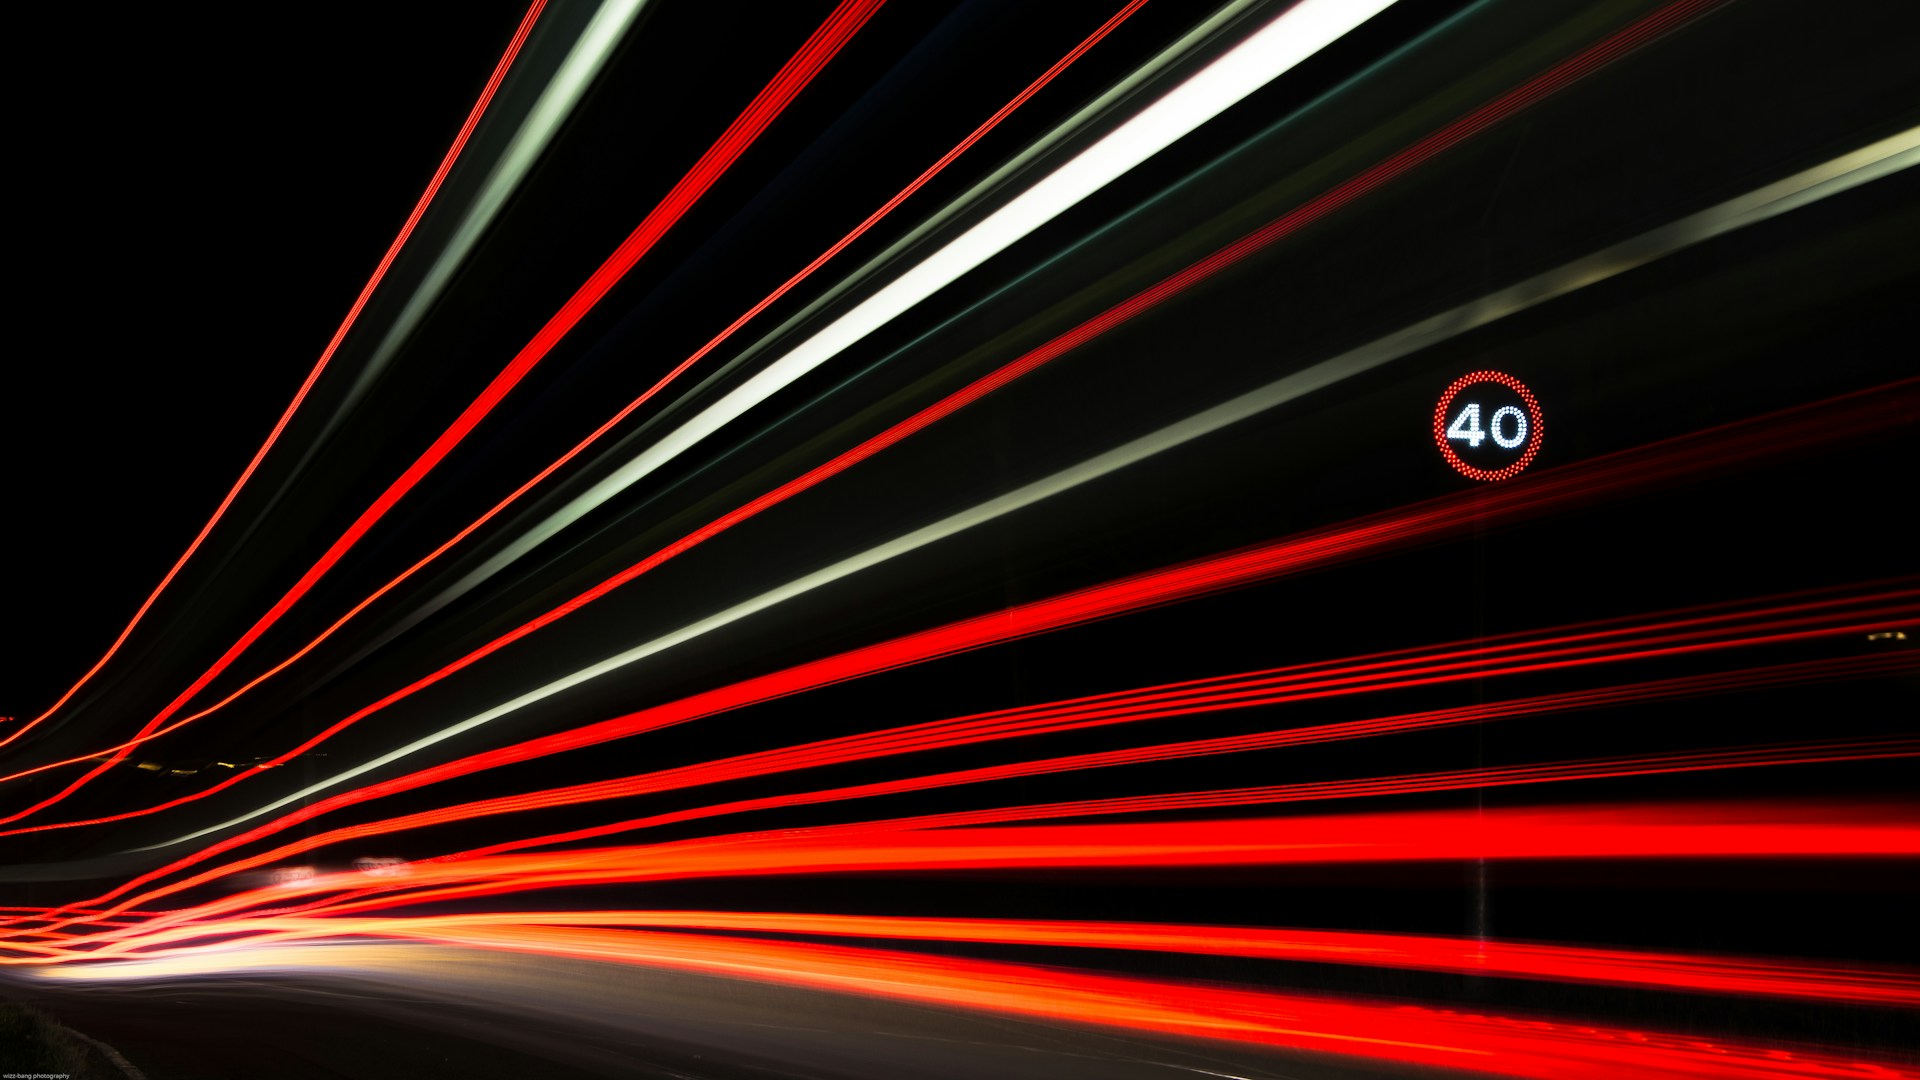
1. Shutter Speed: Freeze It or Blur It — You Decide
Of all the camera settings you’ll ever learn, shutter speed is the one that most directly shapes whether your photos feel alive or static, sharp or dreamy.
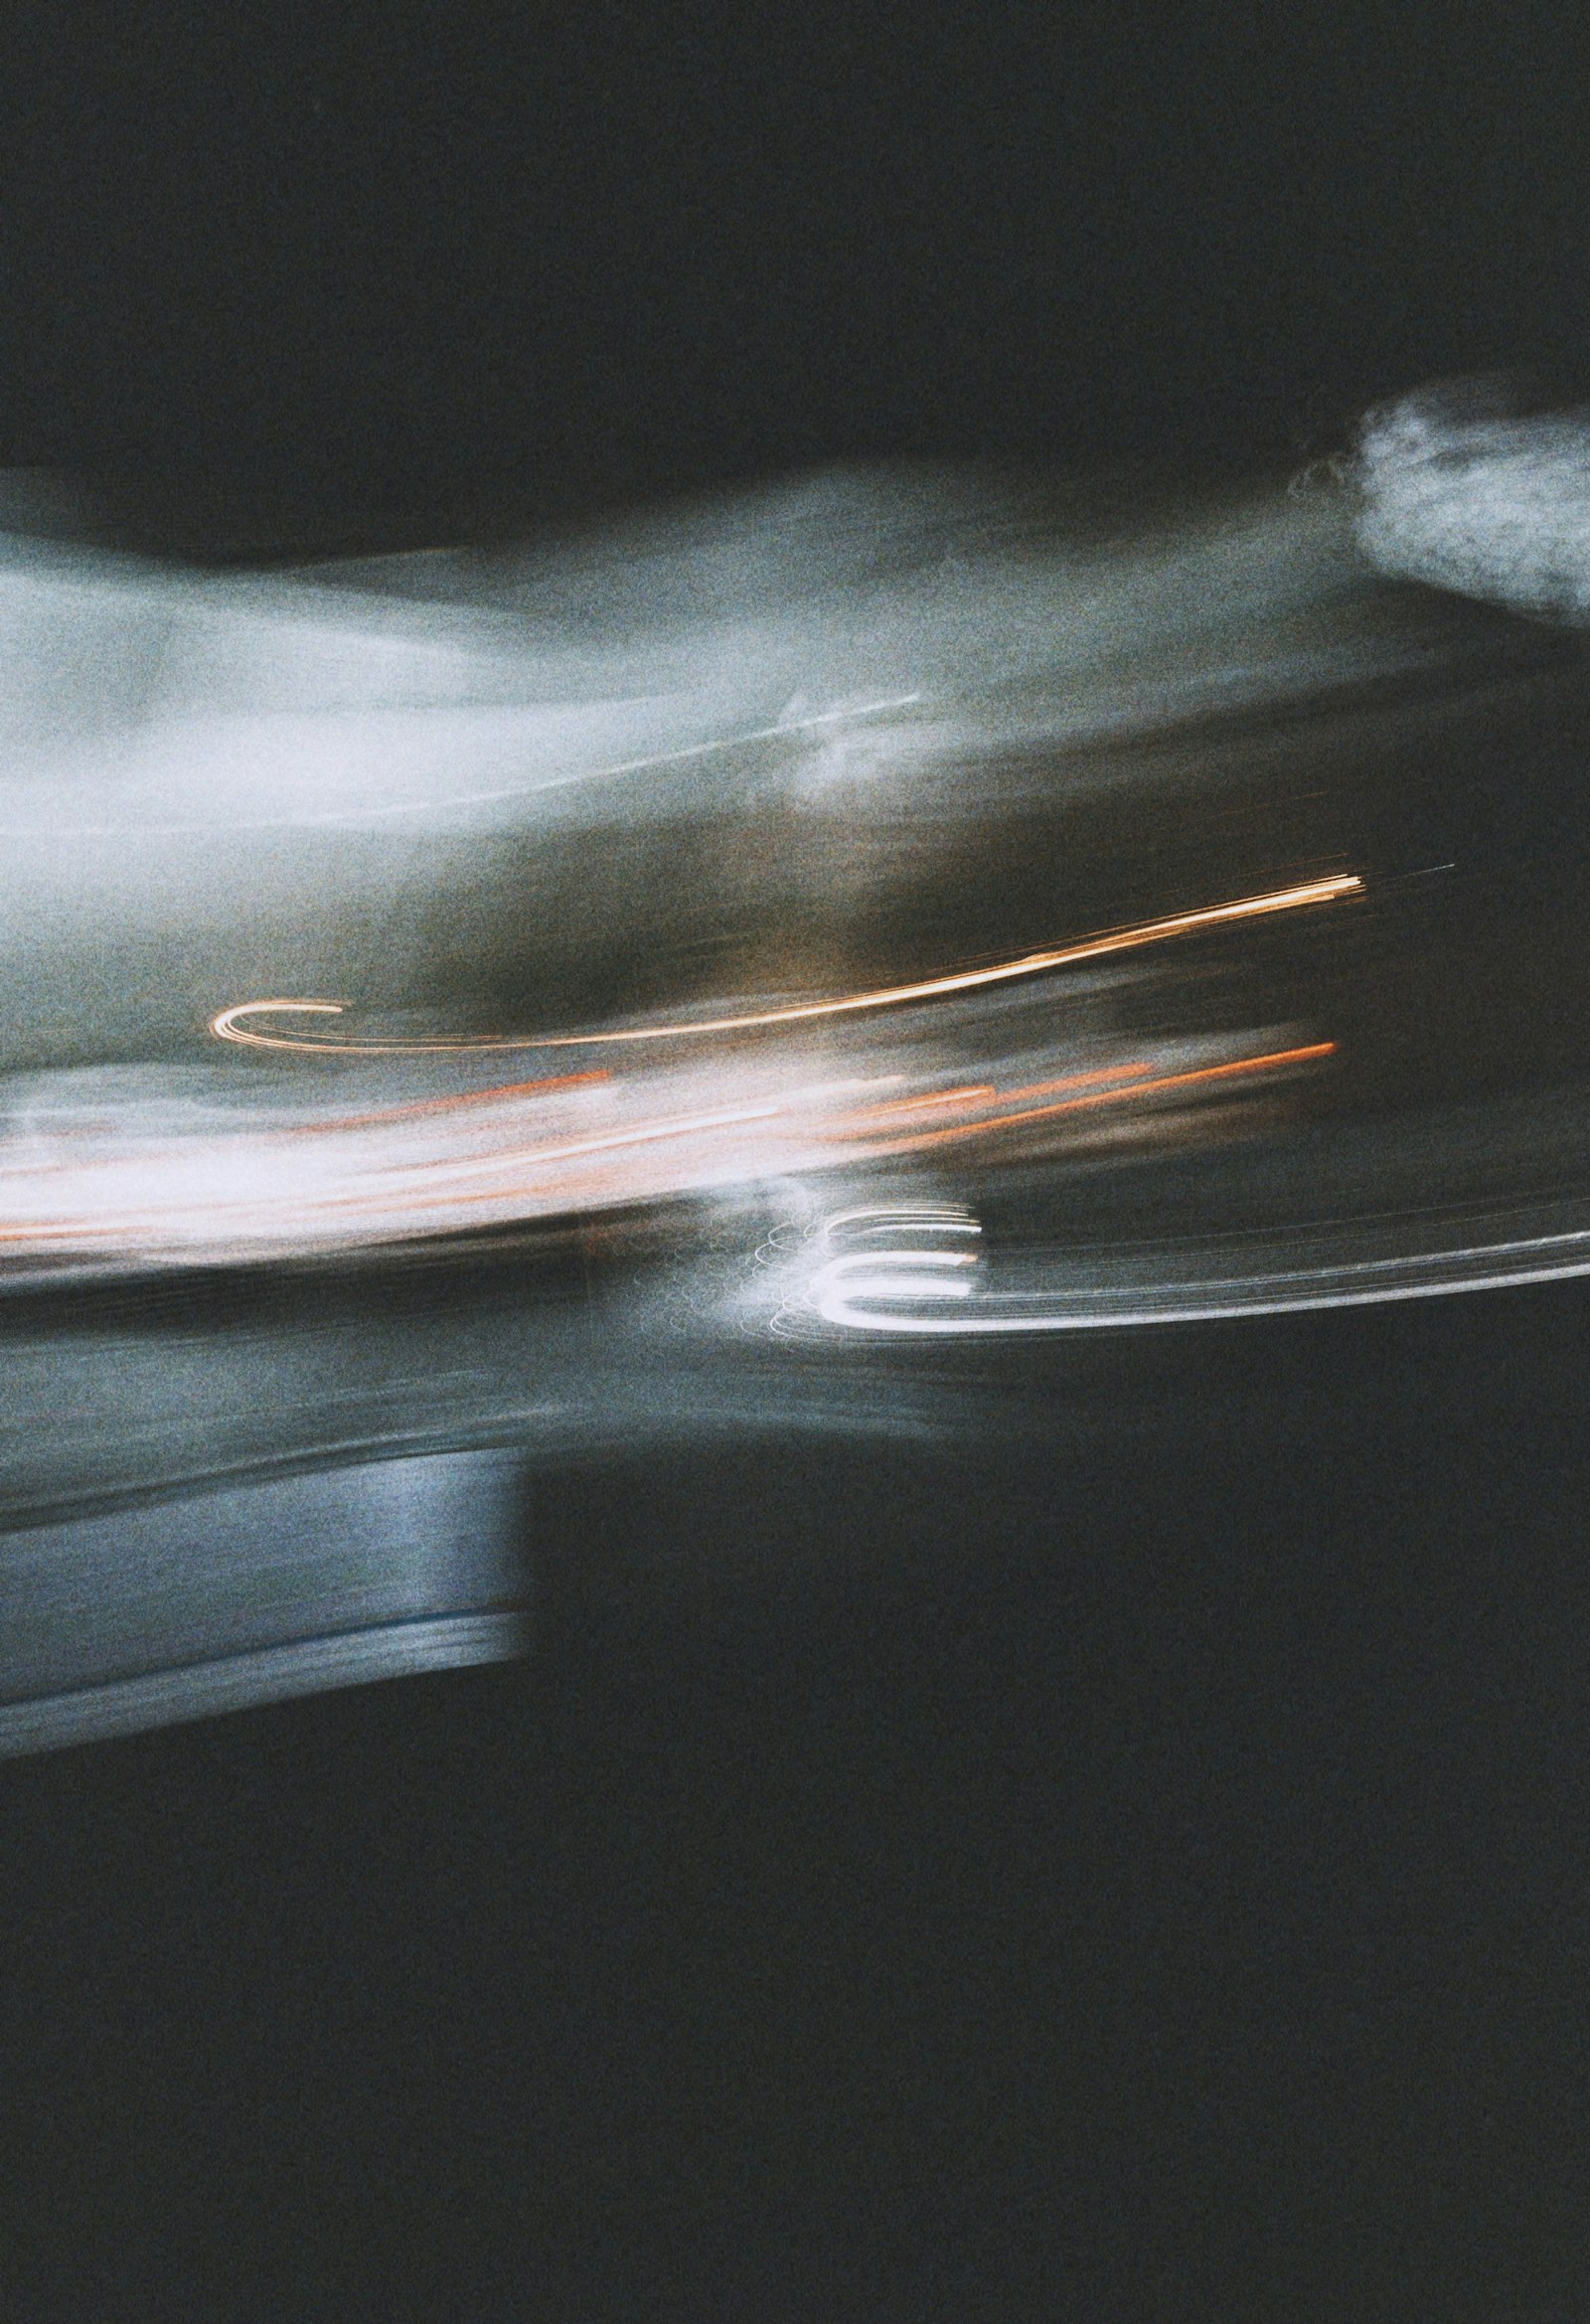
Every time you press the shutter button, a small curtain inside your camera opens and closes. The amount of time it stays open is your shutter speed — and that tiny window of time determines everything about how motion is recorded in your image.
Shutter speed is measured in fractions of a second (and sometimes full seconds). A speed of 1/1000s opens and closes so fast it can freeze a hummingbird mid-wingbeat. A speed of 1/30s is slow enough that a walking person becomes a blur. And a speed of 30 seconds can turn a busy street into a ghostly river of light.
Understanding shutter speed also means understanding light. A longer exposure lets in more light — great for dim conditions, but it means you need a tripod, otherwise camera shake will ruin your shot. A faster exposure cuts the light off quickly, which demands brighter conditions or higher sensitivity settings to compensate.
A good rule of thumb for handheld shooting is to never go below 1 divided by your focal length. Shooting with a 50mm lens? Keep your shutter at 1/50s or faster. At 200mm? Don’t drop below 1/200s. This prevents the soft blur caused by natural hand movement from ruining an otherwise sharp scene.
The creative possibilities here are enormous. Sports photographers live at 1/1000s and faster to capture athletes suspended mid-air. Landscape photographers put their cameras on tripods at dusk to capture silky smooth waterfalls with exposures of several seconds.
Astrophotographers let their shutters open for 20–30 seconds to gather enough starlight to reveal the Milky Way.
Slow shutter speed is also the technique behind light painting — a long exposure in a dark room while someone traces shapes with a flashlight. The camera records the movement as glowing lines of light, creating something that looks more like digital art than photography.
The best way to truly understand shutter speed is to go out and experiment deliberately. Set your camera to Shutter Priority mode (S or Tv on the dial), dial in an extreme value in either direction, and shoot the same moving subject. The difference between those two frames will teach you more than any article can.
2. ISO: How Sensitive Is Your Camera to Light?
ISO is your camera’s ability to amplify light — a powerful tool in dark situations, and one that requires a careful hand to avoid degrading your images.
The term ISO comes from film photography, where it described the light sensitivity of a roll of film. In the digital world, it works differently under the hood — but the concept is the same: a higher ISO number means the camera is more sensitive to the available light.
At ISO 100, your sensor is in its most natural, unamplifed state. It produces the cleanest images with the most accurate colors and finest detail. This is your go-to for bright outdoor shooting on a sunny day. As you raise the ISO — to 400, 800, 1600, 6400 — the camera electronically boosts the signal from the sensor, brightening the image but also amplifying any imperfections along the way.
Those imperfections show up as digital noise — a random speckle of color and luminance variation, especially visible in smooth areas like clear skies or skin tones. Think of it like the film grain of the digital age. At ISO 3200 or above, noise becomes clearly visible and starts to soften fine details. At extremely high values like ISO 25600 or 102400, the image takes on an almost painterly, impressionistic quality.
Modern cameras have improved dramatically in this area. A camera released in the past few years can often produce clean, usable images at ISO 6400 — values that would have been practically unusable a decade ago. Larger sensor cameras (full-frame) also handle high ISO much better than smaller sensors, because each individual photosite on the sensor is physically larger and can gather more light before noise becomes an issue.
The general principle is to always use the lowest ISO that still allows a correct exposure. Start at ISO 100 outdoors in daylight, bump to ISO 800 or 1600 indoors under artificial light, and reach for ISO 3200 or higher in very dark environments like concert venues or candlelit rooms.
One practical note: a noisy but correctly exposed photo is almost always preferable to a clean but underexposed one. Trying to brighten a dark image in post-processing amplifies noise far more aggressively than simply using a higher ISO in the first place. Get the exposure right in-camera, even if it means letting the ISO climb.
One more thought: noise isn’t inherently bad. Film photographers paid extra for fast, grainy film to achieve a specific aesthetic. Plenty of modern photographers deliberately shoot at high ISO to bring a raw, documentary quality to their images. Know the trade-off, then make the choice intentionally.
3. Aperture: The Setting That Shapes How Your World Looks
Aperture controls not just how much light enters your lens, but the very visual language of your photograph — from tack-sharp landscapes to dreamy, blurred backgrounds.
Inside every lens is a set of overlapping blades that form an adjustable opening called the aperture. Open it wide and more light floods in. Narrow it down and less light passes through. Simple enough — but aperture’s second effect is what makes it genuinely fascinating: it controls depth of field, the zone of the image that appears sharp and in focus.
Aperture is measured in f-stops, written as f/1.8, f/4, f/11, and so on. Here’s the part that confuses nearly every beginner: a smaller f-number means a wider opening. f/1.4 is a huge aperture, letting in a flood of light. f/16 is a tiny opening, barely a pinhole by comparison. The number describes a ratio, not a size — which is why it seems backwards at first.
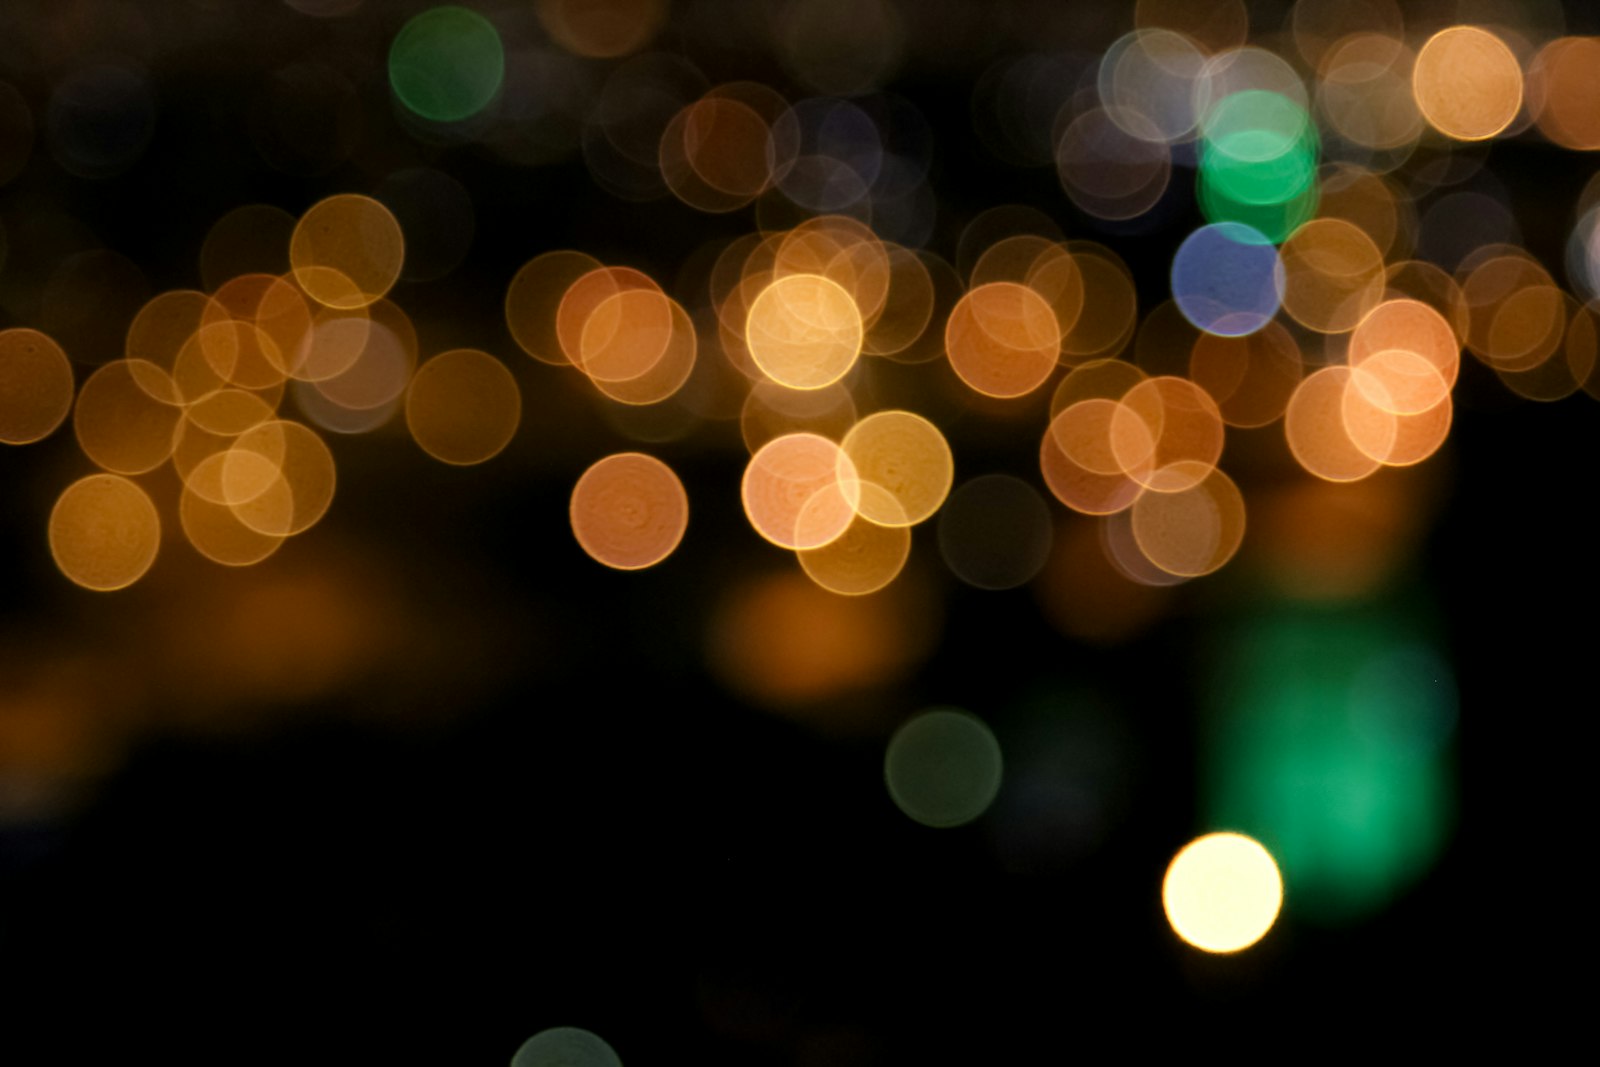
Wide apertures (low f-numbers like f/1.4 to f/2.8) produce a shallow depth of field. Your subject is sharp, but the background melts into smooth, circular blurs called bokeh. This is the look of professional portraiture — the face in crisp detail, the distracting background rendered into soft, painterly shapes. It also works beautifully for product photography, food photography, and any situation where you want to isolate a subject from its surroundings.
Narrow apertures (high f-numbers like f/8 to f/16) produce a deep depth of field. Everything from the flowers in the foreground to the mountains on the horizon is in sharp focus simultaneously. Landscape photographers almost always shoot in this range — the goal is sweeping clarity, not selective isolation. Architectural photography, group portraits, and street photography also benefit from the all-in-focus quality of a narrow aperture.
There’s a middle ground worth knowing: the sweet spot of most lenses, typically between f/5.6 and f/8, is where the lens produces its sharpest, most optically correct image. Wide-open, even a premium lens has some optical softness at the edges. Stopped all the way down, a phenomenon called diffraction starts to gently soften the image. The middle range avoids both extremes and delivers peak sharpness — useful to remember when maximum quality matters more than a specific depth-of-field effect.
Aperture is also deeply tied to low-light performance. A lens with a maximum aperture of f/1.8 lets in roughly six times more light than a lens capped at f/4.5. That difference is enormous in dim environments — it means you can use a faster shutter speed or lower ISO to achieve the same exposure. This is why photographers often invest in fast lenses with wide maximum apertures: they’re not just for blurry backgrounds, they’re tools for working in challenging light.
To really feel aperture’s power, switch your camera to Aperture Priority mode (A or Av on the dial), point at any scene with something in the foreground and background, and shoot the same frame at f/1.8 and then at f/16. The two photographs will barely look like they were taken in the same spot. That’s aperture — not just a technical control, but a fundamental creative voice in every image you make.
Hi, this is a comment.
To get started with moderating, editing, and deleting comments, please visit the Comments screen in the dashboard.
Commenter avatars come from Gravatar.